Table of contents
How Do I Make My Own Recipe Cards?
Creating your own recipe cards is a great way to organize your favorite recipes, add a personal touch to your kitchen, and share culinary creations with family and friends. Whether you’re designing them for personal use or as gifts, making custom recipe cards allows you to control the design, format, and content. Here’s a step-by-step guide on how to make your own recipe cards.
Step 1: Decide on a Recipe Card Size
Before you begin designing your recipe cards, the first decision you’ll need to make is selecting the size that best suits your needs. Common sizes include:
- 3×5 inches: Perfect for simple, minimal recipes with short ingredient lists.
- 4×6 inches: The most popular size, offering enough space for most recipes while still fitting in standard recipe boxes.
- 5×7 inches: Best for longer or more complex recipes that need extra space for details.
Choosing the right size will determine how much information you can include and how you’ll store or display your cards. For more on selecting the best size for your recipe cards, check out this helpful guide on recipe card sizes.
Step 2: Gather Your Recipes
Once you’ve chosen a size, it’s time to gather the recipes you want to feature on your recipe cards. These could be family recipes passed down through generations, your own culinary creations, or favorites from cookbooks or websites.
Organize the recipes by type (e.g., appetizers, main courses, desserts) to make the process easier. Consider including sections like:
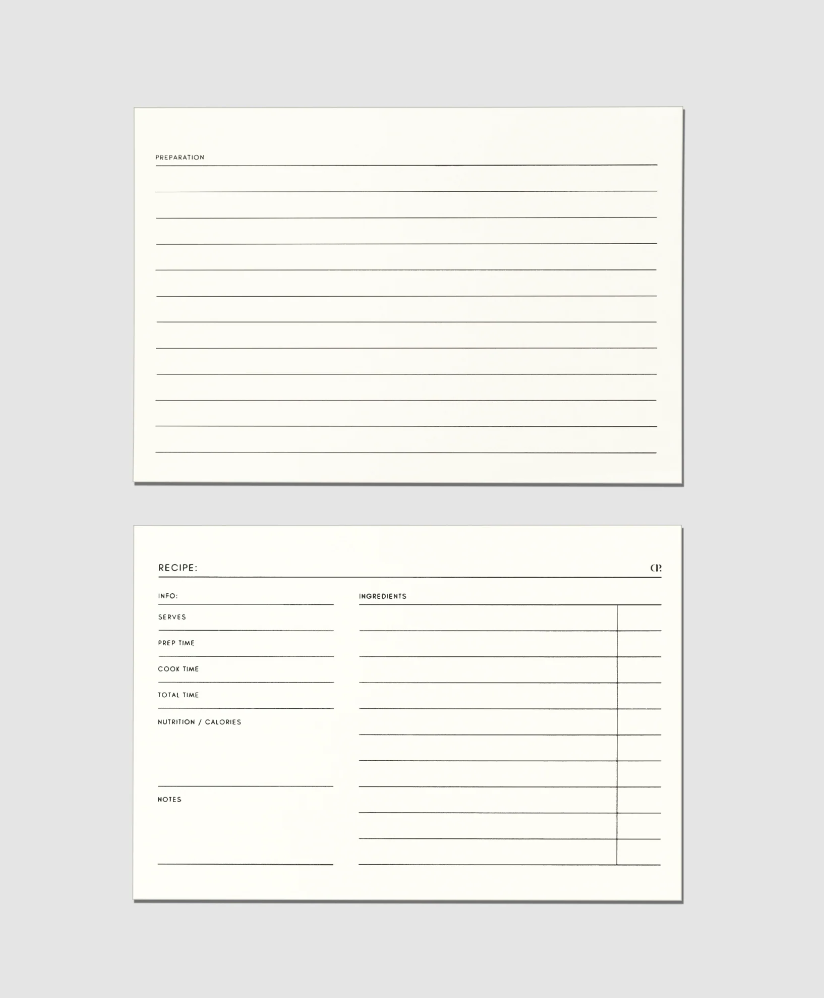
- Ingredients
- Instructions
- Cooking time
- Serving suggestions
- Notes (e.g., substitutions or tips)
Step 3: Choose a Design or Template
There are several ways to design your recipe cards, from fully customizable templates to printable designs you can edit yourself. You have the option to:

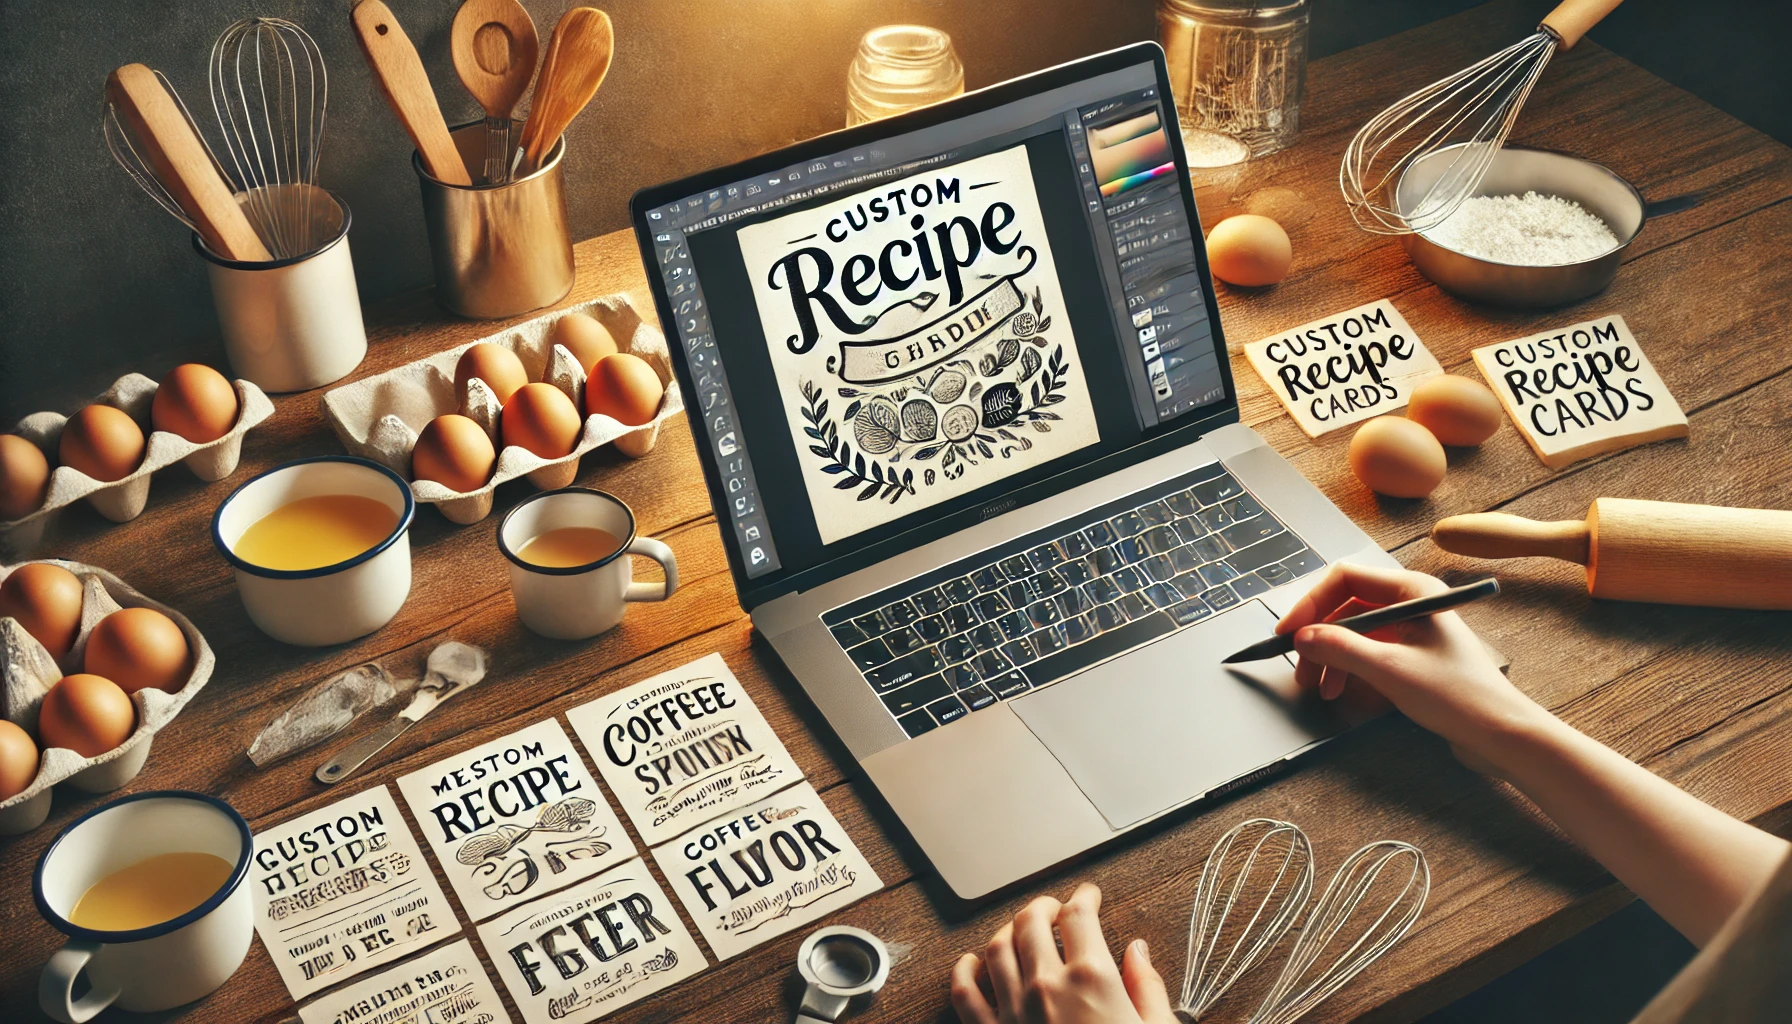
- Use Online Tools: Platforms like Canva, Microsoft Word, and Google Docs offer free recipe card templates that are easy to personalize. These tools allow you to choose fonts, colors, and layouts to match your style.
- Design from Scratch: If you prefer full creative control, software like Adobe Photoshop or Illustrator lets you create custom recipe card designs. This option works well for those with graphic design skills or those looking for a highly unique and personalized result.
For printable templates and more, check out this resource on customizing recipe cards.
Step 4: Add Recipe Details and Personal Touches
Once you’ve chosen your design or template, it’s time to add the content. This is where you can personalize your recipe cards:
- Title and Ingredients: Start with the title of the recipe and a list of ingredients. Be clear and concise. For example, list each ingredient by name, followed by the measurement.
- Step-by-Step Instructions: Break down the cooking process into easy-to-follow steps. The key here is to make the recipe instructions as clear and straightforward as possible.
- Personal Notes and Variations: One of the benefits of custom recipe cards is the ability to add your own notes. Include tips for substitutions, cooking methods, or personal touches to make the recipe unique.
- Decorative Elements: Add visual appeal with borders, illustrations, or colors that match the theme of your kitchen or the occasion for which the cards are being created.
Step 5: Print and Assemble Your Recipe Cards
After designing and formatting your recipe cards, you can print them at home or through a professional service. For home printing, make sure to use high-quality cardstock paper so that the cards are durable and long-lasting.

- Paper Choice: Choose thick cardstock or photo paper to ensure that your cards can withstand kitchen use.
- Printing: Set your printer to the correct paper size (e.g., 4×6 or 5×7) and ensure you print at a high resolution for crisp text and images.
- Lamination (Optional): To protect your recipe cards from spills and stains, you might consider laminating them, especially if you’ll be using them frequently in the kitchen.
If you want a more polished and durable result, consider using an online printing service that specializes in custom recipe cards.
Step 6: Organize and Store Your Recipe Cards
Now that your recipe cards are printed, it’s time to store them. Depending on the size of your cards, there are several ways to keep them organized:
- Recipe Boxes: These are perfect for 4×6 inch cards. Recipe boxes come in various designs and materials, making them both practical and decorative.
- Binders: For 5×7 cards, consider using binders with plastic sleeves to keep your cards organized and protected.
- Photo Albums: A creative alternative is to store your recipe cards in a photo album, especially if you’ve used custom designs or added pictures of the dishes.
To keep your cards organized by meal type or occasion, you can add dividers or label the sections of your storage system.
Tips for Creating Unique Recipe Cards

To make your custom recipe cards stand out, consider the following ideas:
- Add Photos: Including pictures of the finished dish makes your cards more visually appealing and gives you or the recipient a clear idea of what to expect.
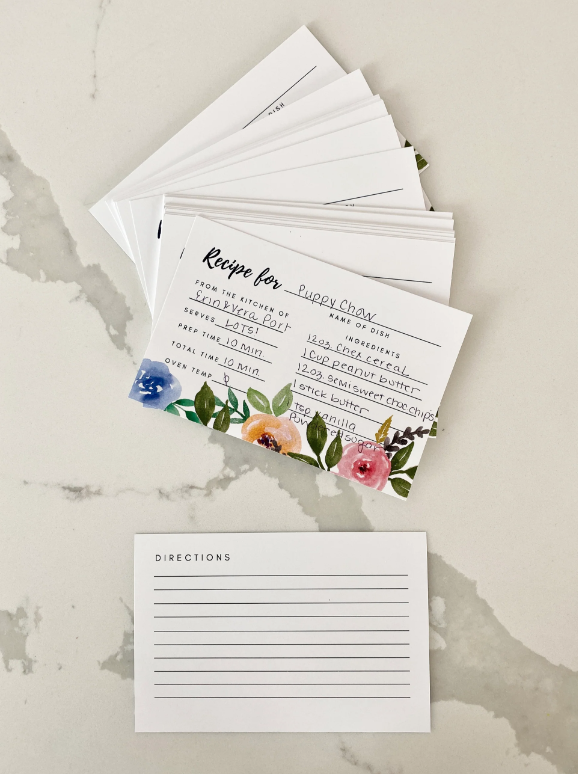
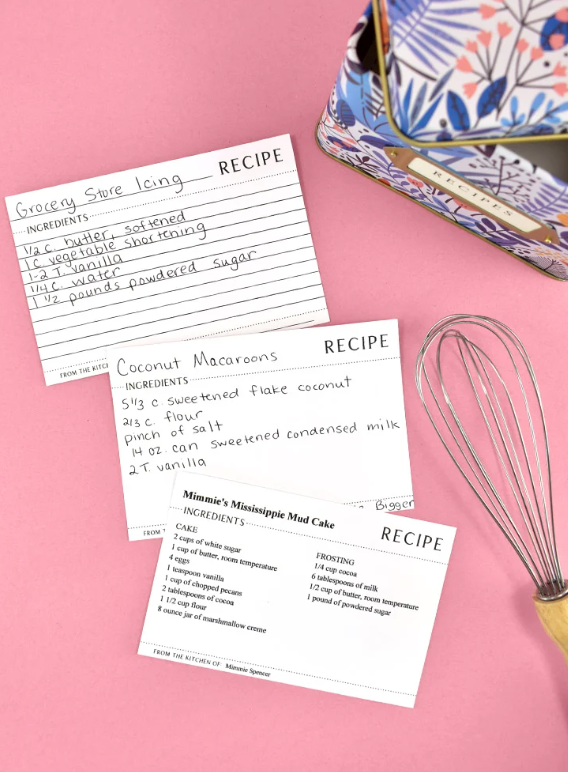
- Handwritten Recipes: For a personal touch, especially for family recipes, consider handwriting the cards. Handwritten recipes carry sentimental value and can be passed down through generations.
- Gifting Recipe Cards: If you’re creating recipe cards as a gift, personalize the design to reflect the recipient’s taste. You can also bundle the cards with a recipe box or kitchen tool to make the gift even more special.
FAQs: Making Your Own Recipe Cards
Q: Can I make digital recipe cards instead of printing them?
A: Yes! Many online tools allow you to create digital recipes cards that can be shared via email or social media. You can also store them in a cloud-based service like Google Drive for easy access.
Q: What kind of paper should I use for printing recipes cards?
A: For durability, it’s best to use thick cardstock or photo paper. If you plan to laminate the cards, make sure the paper is compatible with your laminating machine.
Q: How do I make my recipes cards waterproof?
A: Laminating your cards is the easiest way to protect them from spills. You can also use clear protective sleeves or opt for waterproof cardstock when printing.
Q: What’s the best size for recipes cards?
A: The most popular size is 4×6 inches, as it provides enough space for most recipes and fits in standard recipe boxes. For longer or more complex recipes, 5×7 inches offers more room.
Conclusion:
Making your own recipes cards is a fun and practical way to organize your favorite dishes and add a personal touch to your kitchen. By following the steps outlined—choosing the right size, gathering your recipes, designing with templates or custom tools, and printing—you can create beautiful, functional recipes cards that suit your style. Whether you use them for yourself or share them as gifts, personalized recipes cards are a lasting way to preserve culinary traditions and make cooking more enjoyable. With the right materials and a bit of creativity, your custom recipes cards will be both useful and memorable for years to come.

