Table of contents
How Do You Know When Chex Mix Is Done?
Chex Mix is a classic homemade snack that’s loved for its crunchy texture and savory flavor. However, getting the perfect batch of Chex Mix requires some finesse. Knowing exactly when it’s done can be tricky, but it’s important to avoid both underbaking and overbaking. The goal is to achieve the perfect balance of crispness without burning any of the ingredients.
In this article, we’ll break down the key signs that your Chex Mix is done and provide tips on how to bake it to perfection.
Key Signs Your Chex Mix Is Done
There are a few tell-tale signs that let you know your Chex Mix has baked long enough. Pay attention to the following factors to get that perfectly crisp result:

1. Golden Brown Color
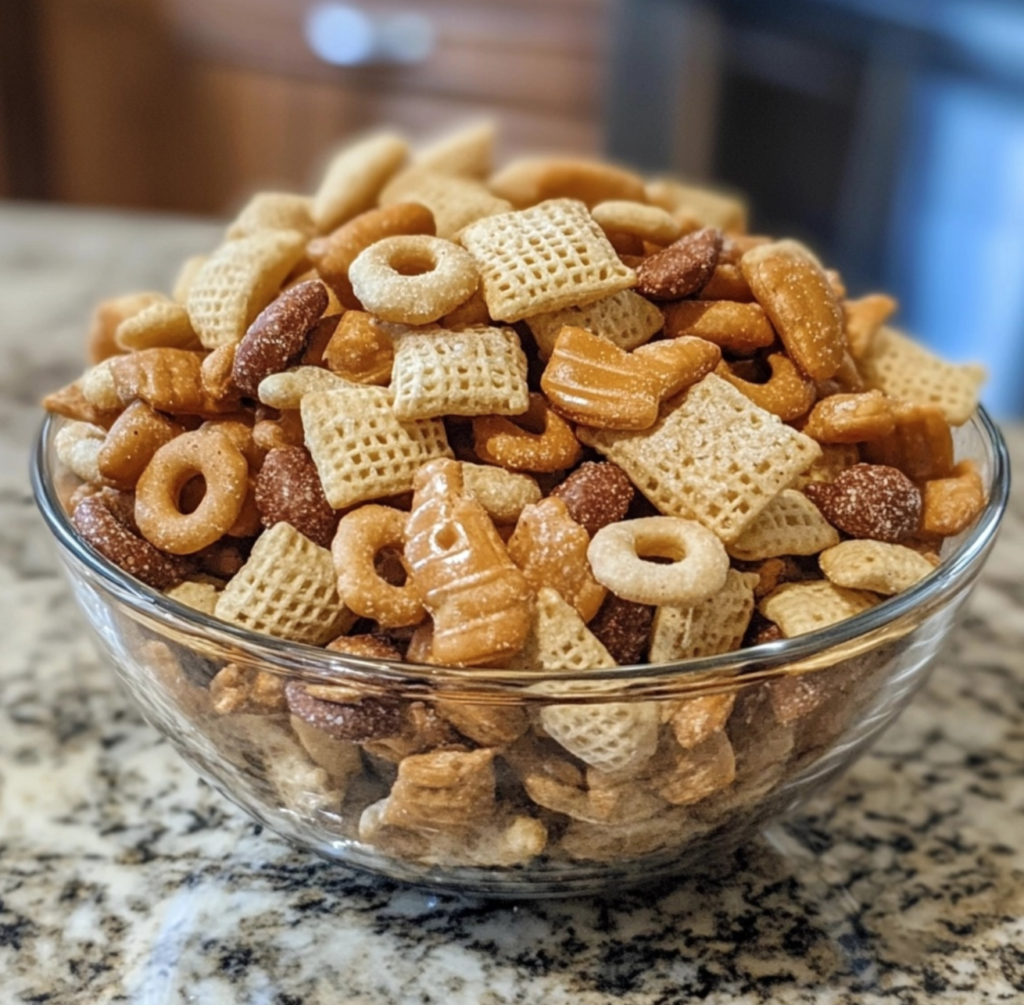
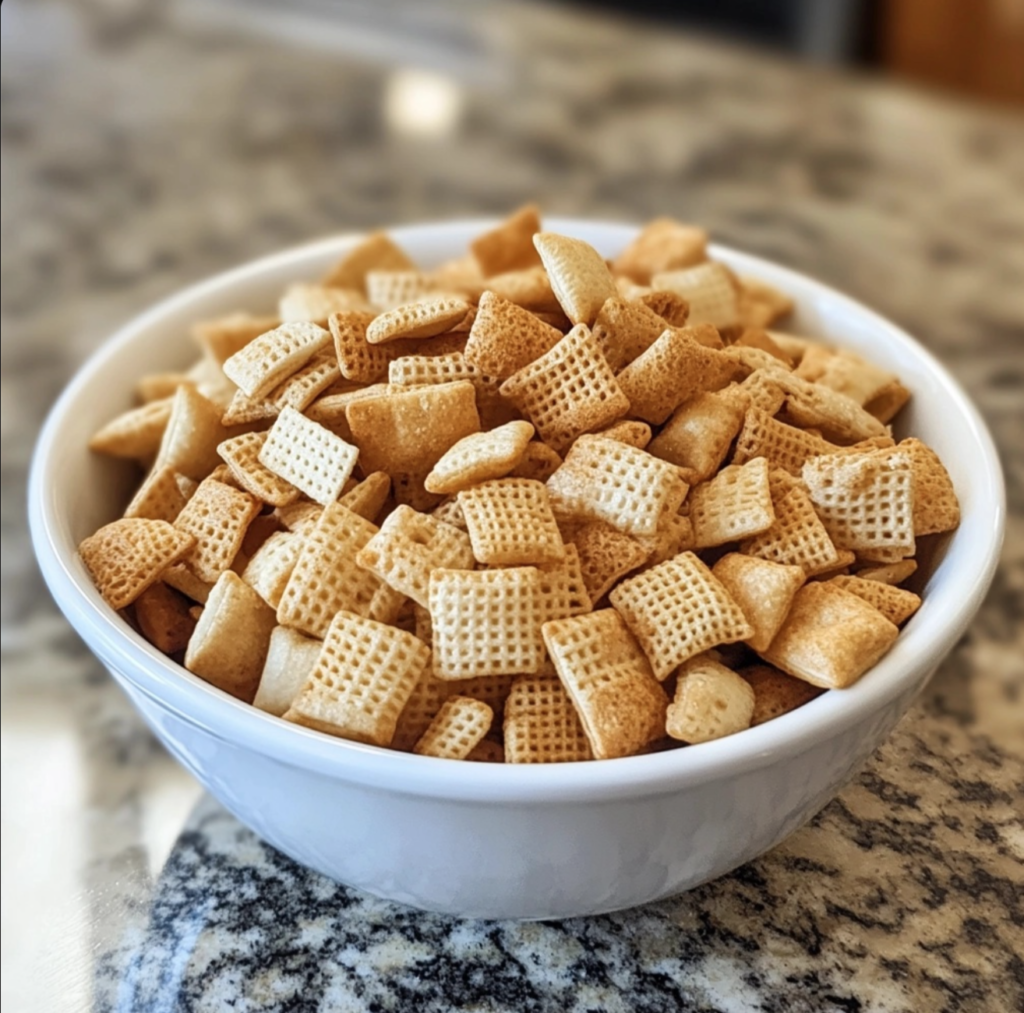
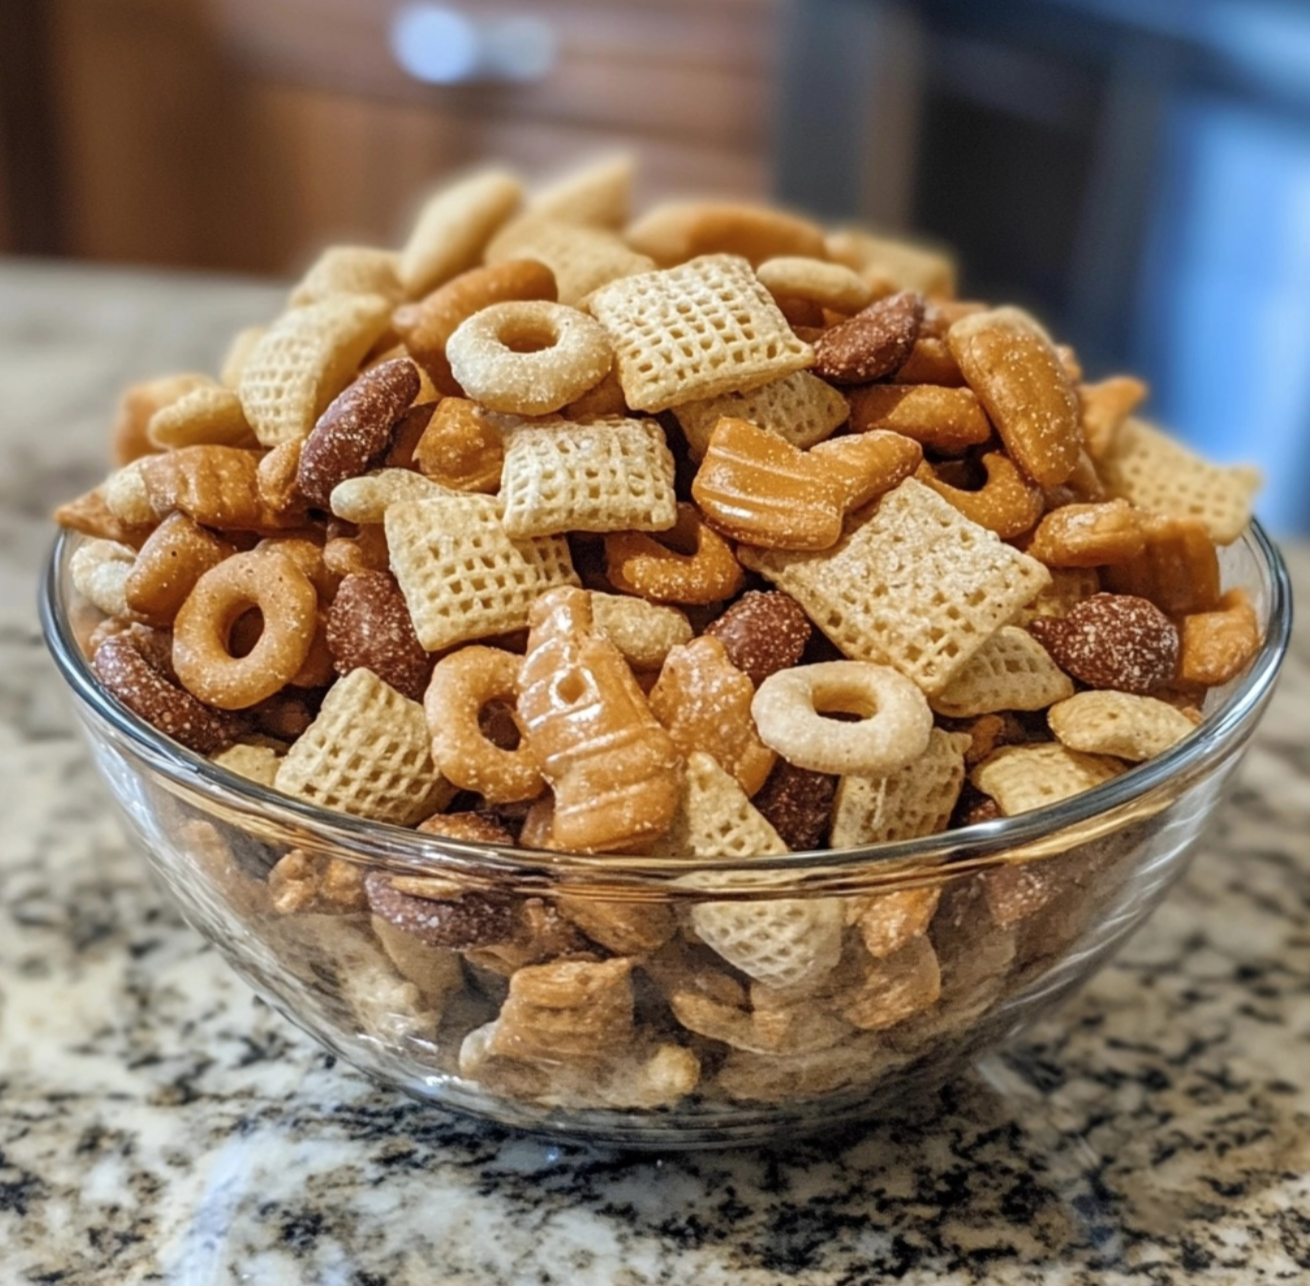
One of the clearest indicators that your Chex Mix is done is the color. The Chex cereal pieces should turn a light golden-brown color by the end of the baking process. This color change indicates that the seasoning has dried out and the ingredients have crisped up. If the pieces still look pale, they likely need more time in the oven.
Tip: Don’t wait for the mix to turn dark brown—that’s a sign that it’s starting to overbake.
For more on achieving the right color, visit Baking Chex Mix Guide.
2. Crisp Texture
Once your Chex Mix has cooled, the texture should feel firm and crisp. To test this, remove a small piece from the oven and let it cool for about one minute. Take a bite to check if it’s crunchy. If the texture is still soft or chewy, the mix likely needs more time in the oven.
Tip: It’s important to let the Chex Mix cool briefly before checking for crispness, as it will continue to harden slightly as it cools.
3. Evenly Coated and Dry Seasoning
Your Chex Mix should be evenly coated with seasoning, and the seasoning itself should be dry. If the seasoning is still sticky or wet, the mix needs more baking time. The butter and Worcestershire sauce should have baked into the Chex cereal and other ingredients, creating a uniform flavor throughout the batch.
Learn more about how stirring helps with seasoning distribution in our guide Stirring Chex Mix Guide.
Baking Chex Mix: Step-by-Step Process
How do you know when Chex Mix is done: To achieve the perfect batch of Chex Mix, follow this step-by-step guide. Proper temperature, baking time, and stirring intervals are crucial.
1. Preheat the Oven to 250°F
Set your oven to 250°F. This low temperature allows the mix to bake slowly and evenly. A higher temperature may cause the seasoning to burn before the cereal and other ingredients have had time to crisp up.
2. Stir Every 15 Minutes
One of the most important steps in baking Chex Mix is stirring it regularly. Stirring every 15 minutes ensures that all parts of the mix are exposed to the heat, helping it bake evenly and preventing certain pieces from becoming too soggy or burnt.
Tip: Use a large spoon to gently toss the mix around the pan. Be sure to reach the bottom of the pan where the seasoning tends to settle.
For more tips on stirring, visit How Often to Stir Chex Mix While Baking.
3. Bake for One Hour
The ideal baking time for Chex Mix is one hour at 250°F. After an hour, your Chex Mix should be fully crisp and dry. Remember to stir every 15 minutes throughout the baking process to ensure even cooking.
Common Mistakes When Baking Chex Mix
How do you know when Chex Mix is done: Even though Chex Mix is a relatively simple snack to make, it’s easy to run into a few common issues. Here are two mistakes to watch out for:
1. Overbaking
Overbaking can cause your Chex Mix to turn too dark and become overly hard. Signs of overbaking include a very dark brown color and a texture that’s too tough to enjoy. To avoid overbaking, always keep an eye on the color and texture during the last 15 minutes of baking.
Tip: If you’re unsure, pull out a small piece of the mix and let it cool before testing the texture.
2. Underbaking
On the flip side, underbaking can leave your Chex Mix soggy and soft. Signs of underbaking include a pale color, a chewy texture, and sticky seasoning. If you notice any of these signs, pop the mix back into the oven for an extra 10-15 minutes.
How to Cool and Store Chex Mix Properly

How do you know when Chex Mix is done: After baking, the way you cool and store your Chex Mix can make a big difference in maintaining its crispness.
Cooling Process
Once your Chex Mix is done baking, remove it from the oven and let it cool completely on the baking sheet. Spread it out evenly to allow air to circulate around the pieces, which helps them dry out and firm up. Cooling properly prevents any leftover steam from making the mix soggy.
For more on cooling tips, check out Chex Mix Cooling Tips.
Proper Storage Tips
Once your Chex Mix is fully cooled, transfer it to an airtight container to preserve its crispness. Store it in a cool, dry place, away from humidity. The Chex Mix should stay fresh and crispy for up to two weeks.
FAQs About Chex Mix Doneness
How can I tell if Chex Mix is underbaked?
Underbaked Chex Mix will often have a pale color, a soft or chewy texture, and wet or sticky seasoning. If you notice these signs, bake it for an additional 10-15 minutes.
What happens if I overbake Chex Mix?
Overbaking will cause the Chex Mix to become too dark and hard. The pieces may be overly crunchy or tough to eat. To avoid overbaking, keep an eye on the color and test the texture by cooling a piece briefly before checking for crispness.
Can I fix overbaked or underbaked Chex Mix?
For underbaked Chex Mix, you can pop it back into the oven for 10-15 more minutes at 250°F to crisp it up. Unfortunately, overbaked Chex Mix can’t really be fixed, but you can try mixing it with fresh ingredients to balance the texture.
Conclusion
Knowing when Chex Mix is done is all about looking for the right signs: a golden-brown color, a crisp texture, and evenly dried seasoning. By following the right baking time and temperature, stirring regularly, and cooling your mix properly, you can enjoy a perfectly crunchy snack every time.
For more tips on how to make the best Chex Mix, visit our Baking Chex Mix Guide.

