Table of contents
- How Do You Make Breastmilk Lotion ? A Complete DIY Guide
- Why Make Breastmilk Lotion?
- What You Need to Make Breastmilk Lotion
- Step-by-Step Instructions: How to Make Breastmilk Lotion
- Using Breastmilk Lotion: Best Practices
- Storage and Shelf Life
- FAQs About Making Breastmilk Lotion
- Tips for Making the Best Breastmilk Lotion
- Related Recipes and Additional Resources
- Final Thoughts: Why Breastmilk Lotion is Worth the Effort
How Do You Make Breastmilk Lotion? A Complete DIY Guide
Breast milk is known for its incredible benefits, not only for nourishing babies but also for its skin-healing properties. One creative and practical way to utilize leftover breast milk is by making breastmilk lotion. This homemade lotion is natural, gentle, and packed with skin-nourishing vitamins and fats that are beneficial for both babies and adults. In this guide, we’ll walk you through the process of making breastmilk lotion at home, step by step, ensuring your skin gets the ultimate natural care.
Why Make Breastmilk Lotion?
Breast milk contains a wealth of nutrients and protective properties that are perfect for skin care. Here’s why it’s becoming a popular ingredient in homemade lotions:
- Moisturizing and Hydrating: Breast milk contains fats that help moisturize and hydrate the skin.
- Healing Properties: It is rich in lauric acid, which has antibacterial and anti-inflammatory properties, making it great for soothing irritated skin, eczema, and diaper rash.
- All-natural: Breastmilk lotion is free from harmful chemicals, making it safe for sensitive skin and babies.
Benefits of Breastmilk Lotion
- Natural hydration: The natural fats in breast milk are great for moisturizing the skin.
- Antibacterial: Lauric acid helps in fighting bacteria and healing minor wounds.
- Perfect for babies and adults: Safe for sensitive skin and great for common skin conditions like eczema and diaper rash.

What You Need to Make Breastmilk Lotion
Creating your own breastmilk lotion at home is simple, and you only need a few natural ingredients. Here’s a list of what you’ll need:
Ingredients:
- 1/2 cup breastmilk (fresh or thawed)
- 1/4 cup oil (coconut oil or olive oil works well)
- 1 tablespoon beeswax pellets (to help emulsify the lotion)
- 1 teaspoon vitamin E oil (optional, acts as a preservative)
- A few drops of lavender essential oil (optional, for fragrance and calming effects)
- Clean jar for storage
Tools:
- Double boiler (or a heatproof bowl over a pot of simmering water)
- Whisk (or hand blender)
- Measuring spoons and jars for storage
Step-by-Step Instructions: How to Make Breastmilk Lotion
Now that you have your ingredients, it’s time to start creating your homemade breastmilk lotion. Follow these easy steps to achieve a smooth, creamy lotion that will nourish and hydrate your skin.
Step 1: Melt the Oil and Beeswax
Start by combining the oil (coconut or olive oil) and beeswax pellets in a double boiler. Heat the mixture over medium-low heat until the beeswax is completely melted, stirring occasionally. The beeswax helps thicken the lotion and ensures it binds properly with the breast milk.
Step 2: Cool the Mixture Slightly
Once the beeswax is fully melted, remove the mixture from the heat and let it cool for about 5 minutes. This step is important because adding breast milk to a very hot mixture can cause it to curdle or separate.
Step 3: Add the Breast Milk
Slowly pour the breast milk into the oil and beeswax mixture while whisking continuously. The lotion should begin to thicken as the milk combines with the oil. Whisk vigorously to ensure the mixture is well emulsified and smooth.
Step 4: Add Vitamin E Oil and Essential Oils (Optional)
If you’re using vitamin E oil, add it to the mixture at this stage. Vitamin E not only nourishes the skin but also acts as a preservative to help the lotion last longer. You can also add a few drops of lavender essential oil for a soothing scent and additional skin benefits.
Step 5: Whisk Until Smooth
Continue whisking the lotion until it reaches a creamy consistency. If you have a hand blender, you can use it to ensure the mixture is fully blended and smooth.
Step 6: Transfer to a Jar and Store
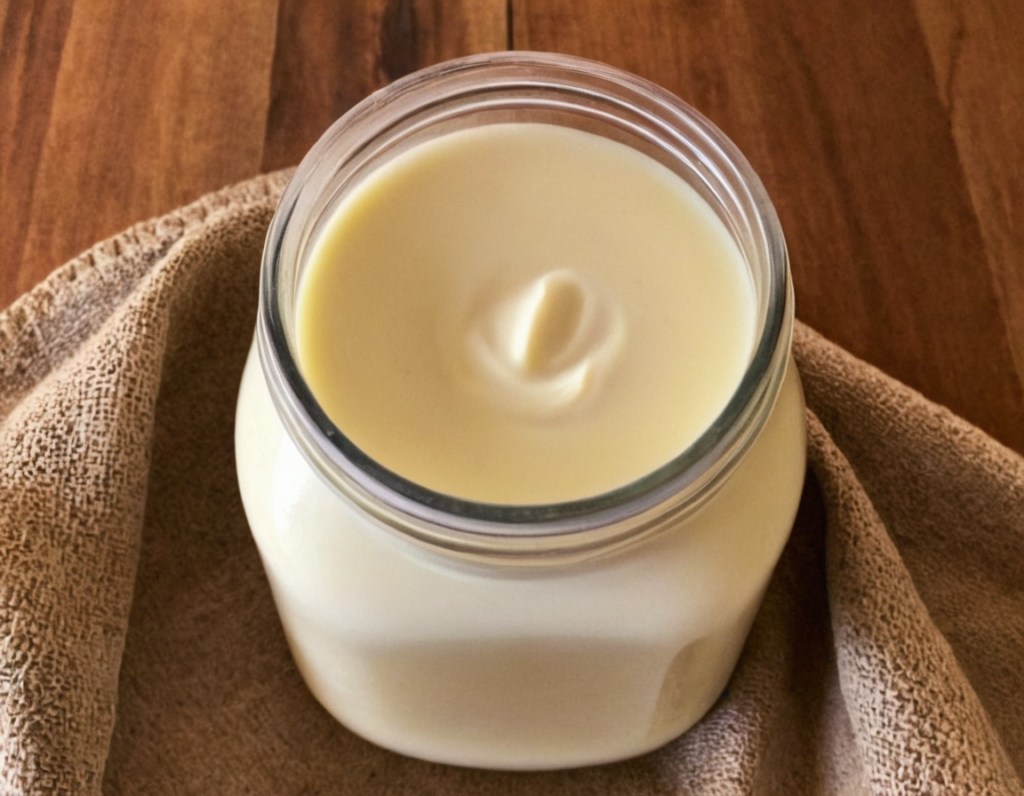
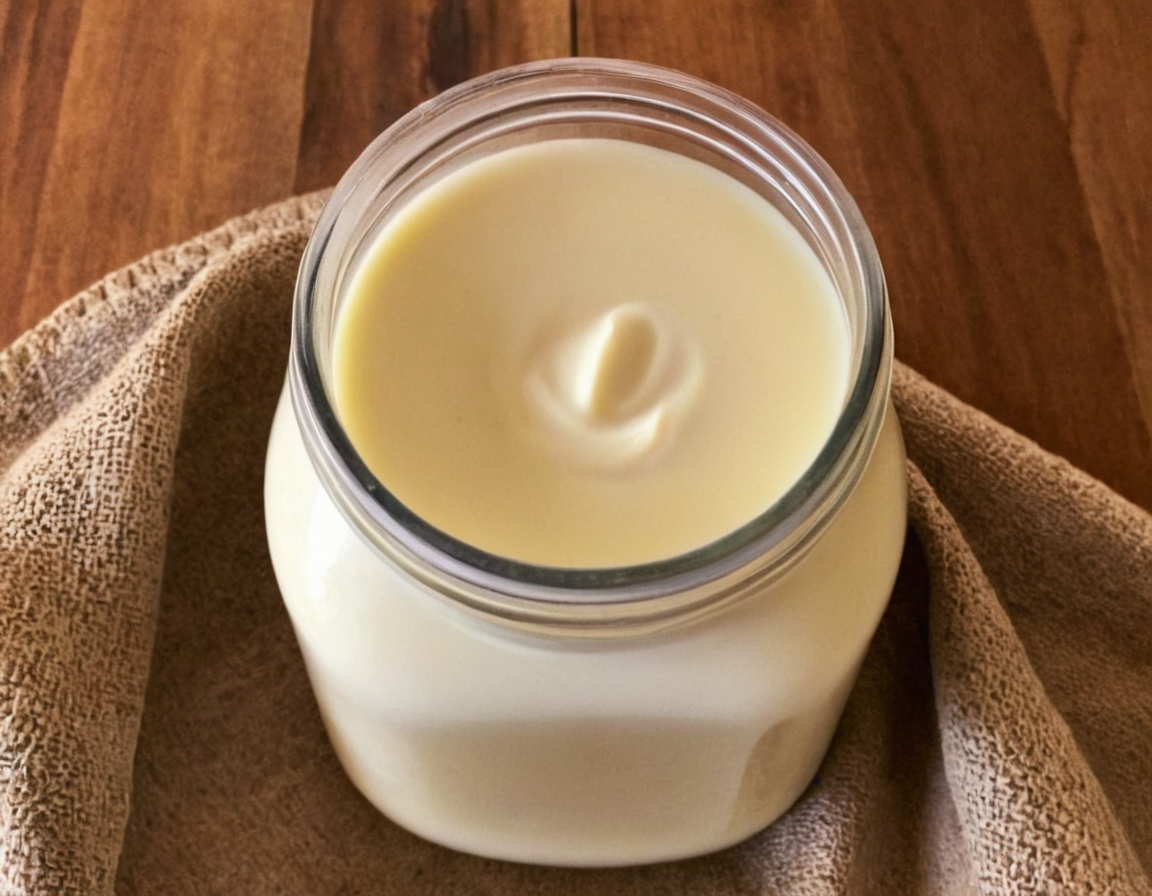
Once the lotion has thickened and is smooth, transfer it to a clean, sterile jar. Let it cool completely before sealing the lid. Store the lotion in the refrigerator to keep it fresh, as it contains no artificial preservatives.
Using Breastmilk Lotion: Best Practices
Breastmilk lotion can be used on both babies and adults, and it’s especially beneficial for those with sensitive skin or skin conditions like eczema. Here’s how to make the most of your homemade lotion:
- Moisturizer: Use it as a daily moisturizer for dry skin areas, such as elbows, knees, and hands.
- Diaper Rash Cream: The antibacterial properties of breast milk can help soothe and heal diaper rash in babies.
- Eczema Relief: Apply a small amount to areas affected by eczema to reduce irritation and inflammation.
- Healing Balm: Use it on minor cuts, scrapes, and sunburns to promote healing.
Pro Tip: Always do a patch test on a small area of skin to ensure there’s no allergic reaction before applying it to a larger area, especially on babies.
Storage and Shelf Life
Since breastmilk lotion is made from natural ingredients and contains no preservatives, it has a relatively short shelf life. Follow these tips to ensure your lotion stays fresh:
- Refrigerate: Store the lotion in the refrigerator, where it will last for up to 2 weeks.
- Small Batches: Consider making small batches of lotion to avoid waste, as it may spoil if left unused for too long.
- Freezing: You can freeze small portions of the lotion and thaw them as needed.
FAQs About Making Breastmilk Lotion
Can I use expired breast milk to make lotion?
It is not recommended to use expired breast milk in lotion-making. Spoiled milk can irritate the skin and lose its beneficial properties.
How long does breastmilk lotion last?
When stored in the refrigerator, breastmilk lotion will last up to 2 weeks. Adding vitamin E oil can slightly extend the shelf life, but it’s best to make fresh batches regularly.
Can I use breastmilk lotion on sensitive skin?
Yes! Breastmilk lotion is gentle and safe for sensitive skin, making it an excellent choice for babies, especially those with skin conditions like eczema or diaper rash.
What if my lotion separates?
If the lotion separates after cooling, simply re-blend it with a whisk or hand blender. If separation continues, you may need to add more beeswax next time to help the lotion emulsify properly.
Tips for Making the Best Breastmilk Lotion
- Sanitize everything: Before starting, ensure all your tools and jars are properly sanitized to avoid introducing bacteria into the lotion.
- Whisk thoroughly: Proper whisking is key to creating a smooth and well-emulsified lotion.
- Cool the oil mixture: Always cool the oil and beeswax mixture before adding the breast milk to prevent curdling.
Related Recipes and Additional Resources
If you’re interested in more DIY skincare recipes, explore our collection of natural remedies:
- Check out our natural baby care recipes for soothing baby wipes and lotions that are gentle on sensitive skin.
- Learn more about the benefits of breast milk and how it can be used in other DIY beauty products in our DIY skincare section.
Final Thoughts: Why Breastmilk Lotion is Worth the Effort
Making your own breastmilk lotion at home is an excellent way to utilize leftover breast milk while providing your skin with a gentle, nourishing product. Whether you’re using it for yourself or your baby, the natural healing properties of breast milk make it a safe and effective option for soothing dry skin, diaper rash, and even eczema. Plus, it’s free from harmful chemicals, making it an ideal choice for sensitive skin.
With just a few ingredients and some simple steps, you can create a DIY lotion that rivals store-bought products, giving your skin the natural care it deserves.

